Recording Data on a Computer to a CSV File using Python and PySerial
Updated: 07Aug2024 05:23:19 UTC 2024-08-07T05:23:19Z
Rating: (0 reviewsThis article has not been rated yet)
This tutorial shows how to record data from an microcontroller onto a computer over USBUniversal Serial Bus using Python and Pyserial and stores the data in a CSVComma-Separated Values text file. The hardware setup will be made as simple as possible with just an microcontroller connected to a computer with a USB cable. The microcontroller code will print numbers over USB, while the computer Python PySerial code will read in those numbers and write them to a CSV file along with the date and time stamp. This tutorial consists of the computer setup, computer Python code, microcontroller Arduino and MicroPython code, and computer console output.
Setup
Both Python and the PySerial package must first be installed on the computer to read in microcontroller data over USB. Also, when connecting the microcontroller to the computer with a USB cable, the USB device on the computer needs to be identified to establish a connection.
Python Installation
Python can be downloaded from python.org. A detailed tutorial on how to install Python on Windows, Mac, or Linux can be found at realpython.com.
PySerial Installation
Instructions for installing the PySerial package can be found at pyserial.readthedocs.io. It is recommended that you create a virtual environment to install PySerial in. A primer on Python virtual environments can be found at realpython.com. The command for creating a virtual environment is using the venv module is given below.
python -m venv venv
The -m flag stands for module-name. The first
venv in the command is the venv module name and the second venv argument is the
name of the virtual environment and the folder name it creates.
Then activate the virtual environment.
For Windows, the command is:
> .\venv\Scripts\activate
For Linux and macOS, the command is:
$ source venv/bin/activate
You can install PySerial using the following PIPPIP is a package installer for Python that allows users to install packages from the Python Package Index and other indexes. The name is a recursive acronym for "Pip Installs Packages" command.
python -m pip install pyserial
USB Device
The device name is needed by PySerial to access the device. When a microcontroller is connected to the USB of a computer, it shows up as two devices:
- HIDUSB Human Interface Device:
- Human Interface Device (HID) which provides a generic interface that does not require drivers to be installed. It is limited to 64 Bytes/ms (~64K/second) per endpoint for sending 64 byte "reports" back and forth.
- CDCUSB Communication Device Class ACMAbstract Control Model:
- Communication Device Class (CDC) of sub-type Abstract Control Model (ACM) that simulates a serial port and requires drivers (INFAn INF file (setup Information file) is a plain-text file used by Microsoft Windows-based operating systems for the installation of software and drivers. file) to be installed.
On a Linux machine, the USB CDC ACM is used with the device name
/dev/ttyACM0. After plugging in the microcontroller into the USB you can
see the USB devices listed by running the command dmesg. If USB adapter is used,
then these devices are usually named /dev/ttyUSB0,
/dev/ttyUSB1, /dev/ttyUSB2, etc.
On a Windows PCPersonal Computer, the Device Manager will show the microcontroller under the Ports (COMCommunication & LPTLine Print Terminal) as a USB Serial Device. For example, after plugging in a RPiRaspberry Pi Pico microcontroller board into the USB of a Windows PC, the Pico was listed as a USB Serial Device (COM4) as shown in the figure below.
Computer Python Code
The computer Python code given below reads in data from a microcontroller and stores it to a CSV file.
Imported Libraries
The Python code starts by importing the following libraries.
- os:
-
For obtaining filenames and checking the existence of files.
os.path.basenameis used to get the filename of the Python script being ran (docs.python.org).os.path.existis used to check the existence of the CSV file (docs.python.org). - serial:
- The PySerial library used for serial communication between the computer and the device (pyserial.readthedocs.io).
- select:
- For polling the serial buffer to detect incoming messages (docs.python.org).
- time:
- For delays to allow the serial buffer to fill up with the full message (docs.python.org).
- datetime:
- For date and time stamps of collected data (docs.python.org).
- csv:
- Library for writing tabular data in CSV format to a text file (docs.python.org).
Serial Object
The serial connection from the computer to the microcontroller is done with a Serial()
object imported from the PySerial library, which implements a standard
UARTUniversal Asynchronous Receiver-Transmitter/USARTUniversal Synchronous/Asynchronous Receiver-Transmitter duplex serial communications protocol.
The Serial() constructor arguments takes the USB device (/dev/ttyACM0) on the
computer used to communicate with the microcontroller. The baud rate of this connection in this example is
set to 9600bpsbits per second, although it could be set higher if needed. When finished using the serial object,
it must be closed with the closed() method on the ser object:
ser.close().
Polling Object
The next part of the initial setup is initializing the polling object. Instead of constantly checking the microcontroller for a response in a loop, it is more efficient to set a polling event interrupt that will hold the execution of the code (blocking) until that event occurs. This can be accomplished from the select library with the method poll(). More details about the select library and poll can be found in the Python documentation at docs.python.org
Encoding
The messages sent and received are encoded in UTFUnicode Transformation Format is a universal standard for mapping Unicode encodings, defining how writing from anywhere in the world, stored in any Unicode encoding format, should be represented on different computer systems.-8 and any errors will be ignored. When you transfer serial data, that information is transferred as raw bytes. A mapping between characters and bytes is needed in in order to convert all the characters in a message to bytes (encode) and then convert those bytes back to characters (decode) at the receiving end. ASCIIAmerican Standard Code for Information Interchange is a simple mapping that consist of 128 characters, each uniquely represented by a different byte as integers from 0 - 127. You could actually encode the message in ASCII with the Python method .encode('ascii'). The main limitation with ASCII is that it does not have most of the characters in the world, which can not be represented by a single byte so we need a special representation for them. UTF-8 encoding has a lot of characters and this is the default used for the encode method (see docs on encode at docs.python.org). A more in-depth article on character encodings with Python can be found at realpython.com.
Polling for Data
Once the message has been sent, the code now waits for a response from the microcontroller with a poll() event handler. When a message is starting to be received (i.e., characters are starting to occupy the serial buffer) from microcontroller, the code has a 1 second delay. This delay is needed to give enough time for the buffer to fill up with the complete message before reading it. After the data is read in with readline(), it is decoded and printed to the console.
Date and Time
The date and time for each data point is captured to determine when the data was taken. The format of the date is DDMMMYYYY, where DD is the two digit day, MMM is the three letter abbreviation of the month, and YYYY is the four digit year (e.g., 23Oct2022). The time format is in HH:MM:SS, where HH is the two digit hour, MM is the two digit minutes, and SS is the two digit seconds.
Writing to CSV File
A CSVComma-Separated Values file is a simple and common plain text format for tabular data and spreasheets. CSV files usually have a comma as a delimiter to separate data, but other delimiters can also be used (semi-colon, tab, etc.). The csv Python module implements classes to easily read and write data in CSV format.
To write to a CSV file in Python, you open the file with the open() function, which has arguments for the filename, write mode, and other optional arguments. The write mode for creating a new CSV file is 'w', whereas appending to an existing file is 'a+'. According to the CSV library documentation (docs.python.org), if using a file object, it should be opened with newline=''.
The code has two separate branches for creating a new file or appending to an existing file. This is so you don't have to create the file outside of the script every time before running the script. The csv module sets the object to the file with the command csv_writer = csv.writer(data_file). When a new file is created, a header row is made with the list of strings ['Date', 'Time', 'Measurement'], representing each column in the table. New rows of data are added to the file with csv_writer.writerow(data_row), where data_row is a list of data for the row. When finished writing data to the file, it is closed with data_file.close().
Arduino Code
The Arduino code below can be ran on any board compatible with the C/C++ Arduino library. It simply prints consecutive numbers with a counter every second over USB. The baud rate is set to 9600bpsbits per second, which needs to be the same as the value set in the PySerial object in the computer Python code.
MicroPython Code
The MicroPython code shown below can be ran on a RPiRaspberry Pi Pico or any other MicroPython compatible board. It simply prints consecutive numbers with a counter every second over USB using a print() statement. The baud rate is set to 9600bpsbits per second, which needs to be the same as the value set in the PySerial object in the computer Python code.
Output
After loading either the Arduino code or MicroPython code onto the microcontroller and running the computer Python program over five data points, you should get the console output shown in the figure below.
A screenshot of the output CSV file opened in a spreadsheet is shown in the figure below.
Conclusion
This tutorial gave a simple example of how to read data from a microcontroller onto a computer over USB using Python-Pyserial and record the data in a CSV text file. There are many ways to record data on a computer. A CSV file is a common plain text format for tabular data and spreasheets that can be easily accessed for viewing the data by just opening the file on your computer.
Another alternative for storing data on a computer is a database (e.g., SQLite, MySQL, Postgres, Influx, etc.) that facilitates searching and sorting the data efficiently, which is why this method is preferred for web servers. Databases involve more programming with special syntax for creating the database, reading from it, writing the data, along with extra software needed for viewing the data.
The scope of this article was just getting the data onto the computer and recording it in a simple and organized way with plain text. This is a good place to start where more complex designs can be built from.
Related Content

Created:
27Oct2022 23:29:36 UTC
2022-10-27T23:29:36Z
Updated:
07Aug2024 04:39:18 UTC
2024-08-07T04:39:18Z
Rating: (0 reviewsThis article has not been rated yet)
PySerial functional interface and how it works under the hood.
Created:
31Oct2022 07:19:06 UTC
2022-10-31T07:19:06Z
Updated:
07Aug2024 06:05:49 UTC
2024-08-07T06:05:49Z
Rating: (0 reviewsThis article has not been rated yet)
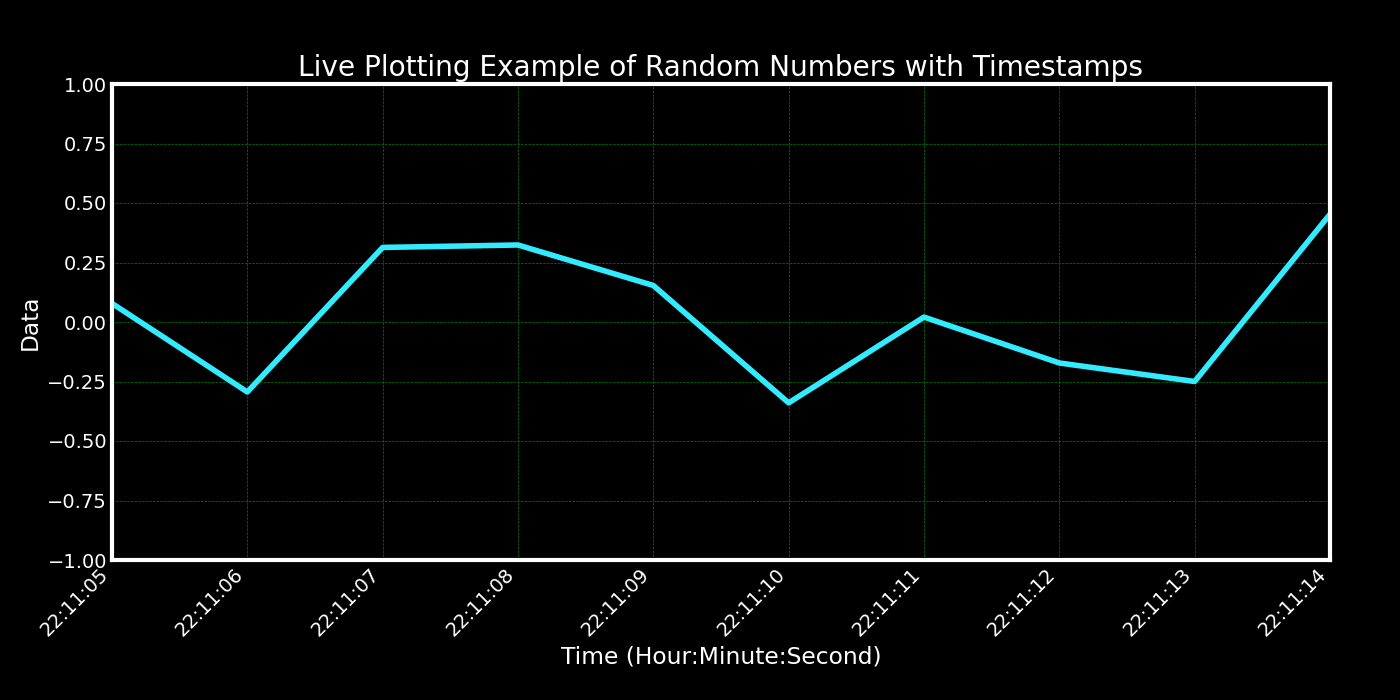
How to plot real-time data with Python using Matplotlib.


(0) Comments
Sign in to leave a comment
Sign In